Kawasan Canyoneering: My Wonderful Experience
If dunking yourself into the tropical blue river waters of the Philippines enthrals you, signing up for a Kawasan canyoneering trip ought to be in your mind.
Or perhaps you are already aware of this activity, given how the tour agencies, travel booklets and other bloggers, vloggers or your friends have all rambled about it.
Regardless, this post is my contribution to how the canyoneering experience went for me, and helps you plan your expectations for your own canyoneering adventure!
I visited Cebu and did Kawasan Canyoneering in April 2023. This post contains affiliate links that cost nothing to you but support my blog! It may also be updated periodically. Cheers!
Reservation
Several shops ply their canyoneering business in Badian. Since our itinerary is fixed, we played safe and reserved in advance with Kawasan Canyoneering.
Where to Stay
We stayed at Moalboal and scuba-dived the first day away. The second day was dedicated to canyoneering and a road trip to Simala Parish Church.
Our choice of accommodation is unconventional – a bamboo hut at a quiet spot some distance away from busy Panagsama Road. It was an economical price-for-value lodging with a private toilet, a bar fridge, and a foyer to relax in the evening. Wifi was strong, and the ambience was great!

Most travellers would have set Moalboal as their base – given the convenience of reaching Moalboal from Cebu and the number of lodgings and good eateries there. Some accommodations along Panagsama Road include The Hangover Hostel, Maayong Hostel, and the beautiful Moana Beach House.
You may also stay closer to the falls at Badian or Alegria, but amenities might not be as comparable to popular Moalboal.
Transport to Get There
There are three ways to get to the shop:
- By private transport that the shop arranges
- Getting a trike to bring you there
- Riding a rented motor yourself
The journey took us around 40 minutes from Moalboal. We rented our motor for P400 per day for three days throughout our stay.

What to Wear
I saw two extremes – Koreans in wetsuits and footies of the same brands I wore for my Moalboal dives and Americans in tiny bikinis or swim shorts and flimsy sandals.
You could die in heat from the wetsuit since there’s some trekking under the sun.
You could suffer from multiple rock scratches and abrasions for wearing very little since there are many rocks to slide through.
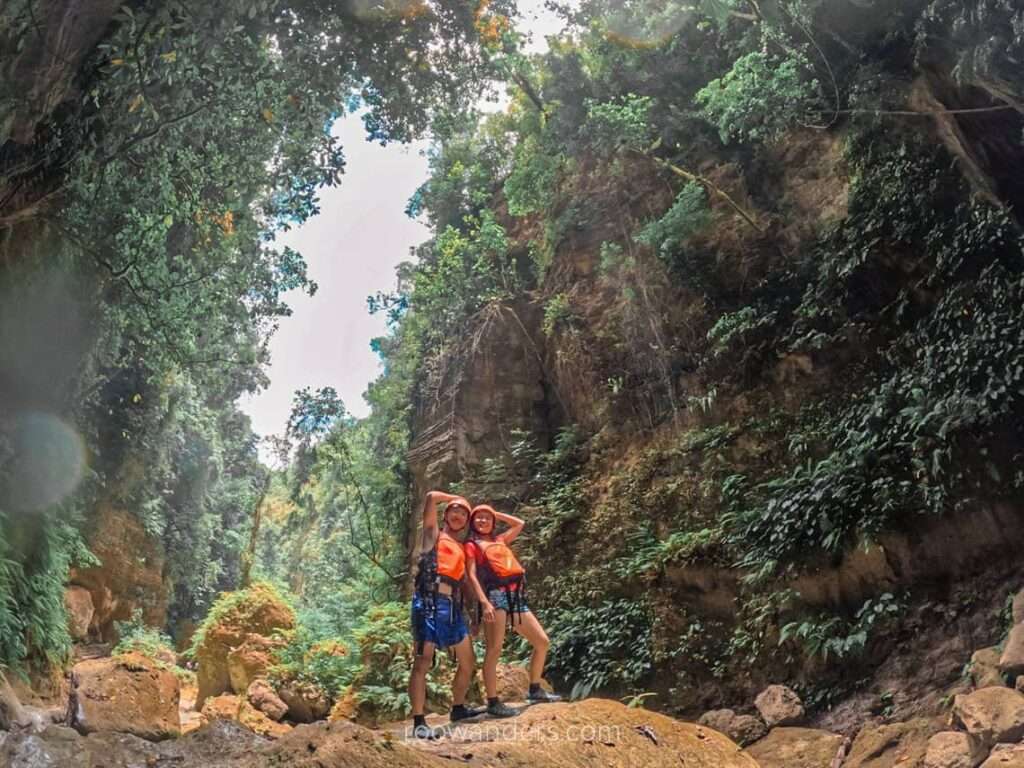
Then there is also the average in the middle of the bell curve consisting of long sleeves or T-shirts, and tights or shorts – essentially what the guides are wearing too.
I wore my old and trusty dry-fit shirt and shorts over swimwear, and a pair of amphibious shoes with sticky soles.
My partner went topless since he tore his shirt and had only two left, and beach shorts plus his highly-regarded pair of minimalist sticky soles shoes.
Everyone has to wear a helmet and life jacket for safety reasons. It’s best to conform to the guidelines, no matter your confidence in water. Come on, don’t put the guides in a spot!
There are certain areas where the guides told us to remove the helmet, again, for another safety reason, as I’ll go through below!
My Day
And here’s the ✨detailed✨ overview of my day spent with Kawasan Canyoneering.
Preparation at Kawasan Canyoneering
We rode our motor for around 40 mins to the office.
Upon reaching the office, two joyful receptionists introduced two guides to us and pointed out the changing rooms and lockers. Everything flowed efficiently, to the extent that we find it highly unusual compared to all the services we’ve received thus far in our trip!
After putting on our life jackets, we were offered a bottle of water each, strategically slotted into the front pocket of our jacket like a kangaroo’s!
Then, we boarded an MPV to the start of the falls together with the guides.
It is interesting to note here that one of our guides – holding onto my GoPro and taking the shots – is mute. We relied on body language to get through. He is also the lead guide and often calls the other extroverted guide to stop for photos or to express his opinions by grunting.
Our Kawasan trip was the first time both guides worked together, so there were times when the extroverted guide became mildly frustrated by the mute lead guide. But all was quickly resolved since the loud guy was generally easy-going.
There seem to always be free guides hanging around the office. You could do the tour anytime you wish by just showing up before 1.30 PM.
Ticket Collection Point
Our guides left us in a sheltered basketball court while they did the registration.
A staff member – presumably someone working for the waterfall – was on stage briefing the canyoneering participants. A new staff member came on stage every 5 minutes to repeat the same monotonous briefings for the never-ending flow of participants.
It didn’t take too long before our guides returned with wristbands printed with our names and QR codes. The bands are what separates the canyoneers from other Kawasan waterfall visitors.

ZipLine or Trekking
To zipline or not to zipline?
The difference is a P600 and some 10 – 15 mins of walking.
We opted to descend to the river/ stream via a cemented pathway since the zipline did not look enticing. We passed through a small village, periodically giving way for the motor carrying the tools for the zipline back up to the station.
Every now and then, a couple of participants flew through the air. Some screamed, some yelled, but most kept quiet and breezed through like loud buzzing flies.

The First Jump: 5 m
We descended a series of large, uneven concrete steps to the heart of the river.
It took just a few hops from getting our shoes wet to jumping into our first 5 m drop.
The key to jumping is to tense the body and land on the feet.
For my first jump, I mostly landed on my butt – ouch!

Interlude
We swam/ waded/ squeezed/ slid where the water flowed.
Along the way, one of our guides had us float on our backs and interlinked with each other like a human centipede. He then pulled us down the river while we enjoyed the view of the trees above.

The Second Jump: 5 m and 7 m
We scrambled up a series of small boulders to another drop zone. There’s a choice to do the 5 m jump or a 7 m jump.
On paper, the difference between 5 and 7 doesn’t seem big.
But when I was there looking down at the waters beneath, a 2 m difference felt huge.
I chose the 5 m jump, while my partner dunked into the 7 m drop.

Interlude
The second interlude was similar to the first, including the human centipede float.
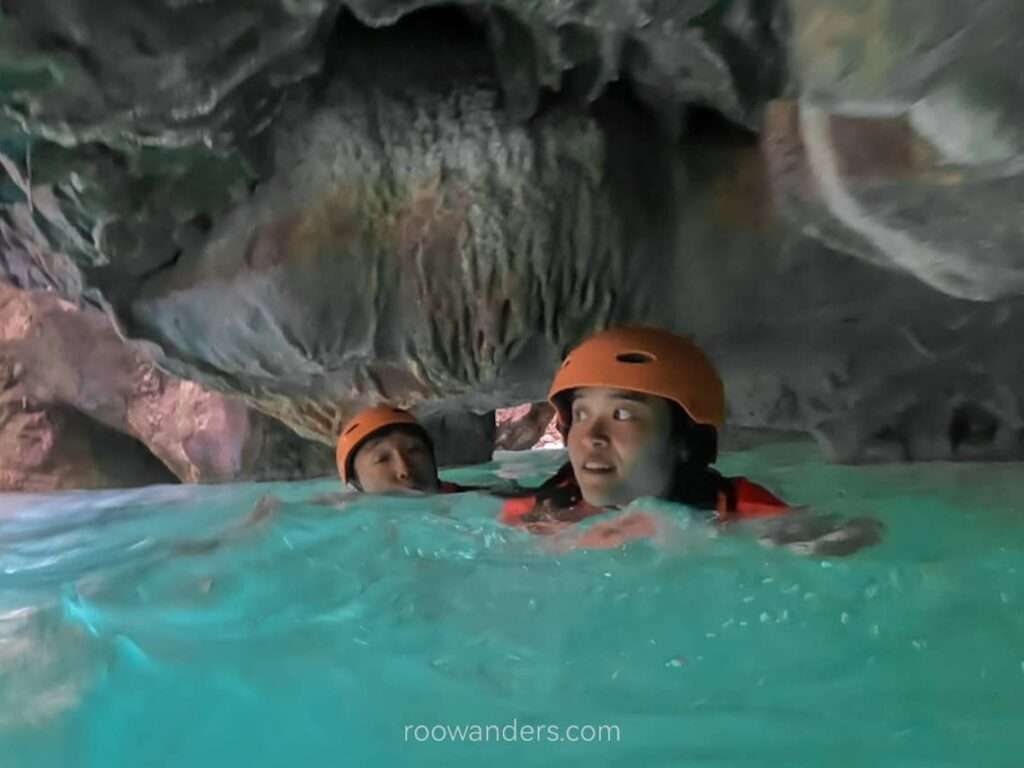
We also swam through a low-hanging rock and were asked to take a photo with a stalactite-like rock.

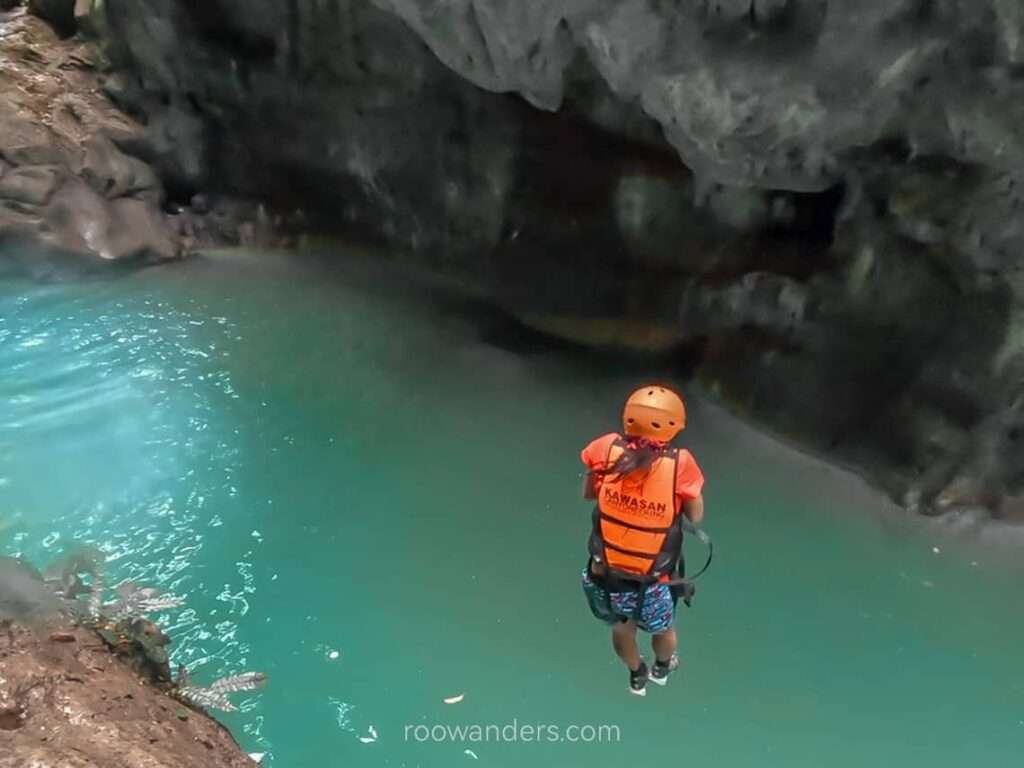
The Third Jump: 5 m and 7 m
Again, I did the 5 m one, while my partner did the 7 m.
But I could proudly proclaim that my third jump was the best as I landed squarely on my feet!
As they say, practice makes perfect!
Snack/ Break
We trekked to a shelter with booths selling drinks, snacks and BBQ.
Our guide handed us a muesli nut bar each. There is not much here apart from resting and refuelling ourselves.
Trekking
After 15 minutes of rest, we left the shelter and walked over the dry, pebbly part of the river towards Kawasan Falls.
This part was relatively unshaded, so those in wetsuits must have felt incredibly uncomfortable.
Just when I thought we were nearing the end of our canyoneering adventure, the extroverted guide asked whether we were game for the big jump.

The Last Big Leap: 11 m
I’m already too chicken over the 7 m jump. What more for an 11 m leap? And so, I trekked, instead of jumping and swimming, to the other end of the river.
Needless to say, my partner took down the 11 m beast, twice, since I missed witnessing his first jump.
Given the height and force of impact upon landing, the guides advised jumpers to remove their helmets, as the straps under their necks could strangle. Yikes!
Swing
There’s a P10 swing jump around the corner for anyone who wants to do a somersault mid-air.

Kawasan Waterfall
Our last stop was at the waterfalls.
The guides surprised us again by inviting us to climb/swim and dive through the back of Kawasan Falls! Yippee!

Walk out
The journey was on foot with our helmets and life jackets behind us like school bags. A class of children out on a learning journey sounds like a mildly accurate description.
Along the way, we took photos with a dam-like structure and followed the river’s trail towards the ocean, where a pickup truck awaited.

Conclusion/ Rambles
With the canyoneering down, we were pretty much done with all the major activities of our Cebu trip.
✔️ Diving with the thresher sharks in Malapascua – checked!
✔️ Visiting the Chocolate Hills and tarsiers in Bohol – checked!
✔️ Swimming with the sardines and canyoneering in Moalboal – checked checked checked!
After a quick shower in the Kawasan Canyoneering office, we indulged in delicious fried chicken, noodles, and mangoes.
Thereafter, it was coffee time at a cute cafe in Moalboal, followed by an eventful road trip to Simala Parish Church, some one-hour ride away from Moalboal.


